When the shelves I ordered to fill the new cupboard I realised they would not fit through the doorway with the door in place. So the door was removed, and has sat on our deck for months and months.
The problem with the door is that it had glass panelling, and one had been broken. The previous owners fixed this by putting a piece of cardboard over it and once all the panes were painted you couldn't really tell. But when the cardboard fell out, it was pretty obvious.
The door was heavy and the old fashioned glass was dangerous - no safety glass here. So I decided to take on a restoration project. I didn't realise it would take so much effort for such a small door! Mind you, with the crooked old house I had to restore the door, as it was probably unlikely that I would find a new door to fit.
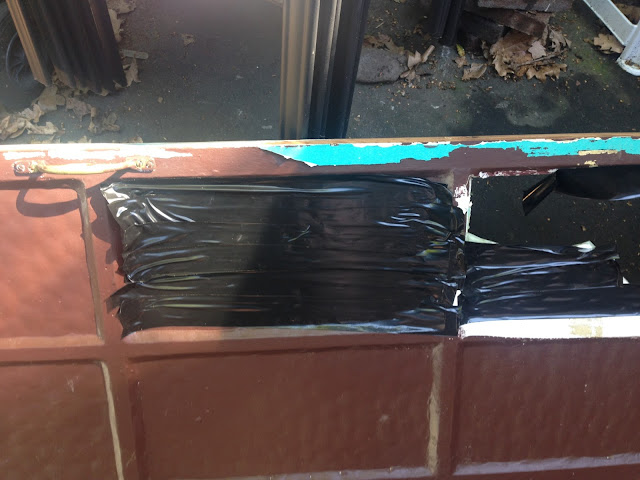
First up - get those glass panes out. I just stuck gaffer tape over all the glass and then hammered it out. Still shattered a bit but generally that kept it together enough to be able to get rid of all the glass.
Then the job of stripping that brown paint, followed by sanding. And sanding. And sanding. Old doors are not easy to get smooth!
Once the door frame was reasonably smooth I undercoated it and then painted again with white enamel trim paint.
I don't have a lot of photos of the painting stage as I was a bit impatient and just wanted it finished!
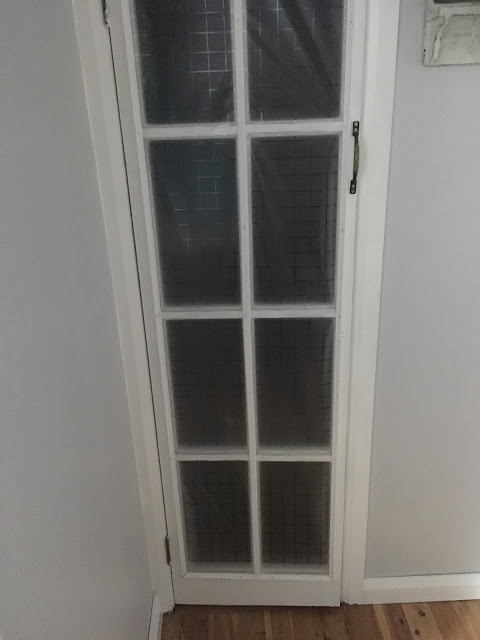
Finally we had worried about what to put back in the door in place of the heavy glass. I had considered using plyboard and painting it with blackboard paint, to make a kind of built in shopping list/note board, but in the end we found some frosted plastic at Clark's Rubber that looks a bit like glass panels. Just now when I looked up this product I have discovered that it is a static privacy film - you can find it on the Clark Rubber website.
It was fairly narrow - in fact it only just stretched across the opening. So my dad and I (well, more my dad than I!) had to carefully tack the plastic across. Then we had bought some thin dowel pieces which I had also painted white so we tacked those on top to hold the plastic.
The hinges and handles went back on and - hey presto - the new/old door has been replaced in the cupboard - which is now a walk in pantry.
To be honest it was a long process for not that much return, but I can feel like I accomplished something - and also the door itself was an unusual size so at least I knew it would fit back in the door frame!


