Showing posts with label DIY. Show all posts

Wednesday, 6 September 2017

New weatherboards and verandah decking

So after we had our balcony replaced and it looked so nice (you can read about it here) I decided we needed to go ahead and do the whole front of the house.  That included the verandah posts and decking - basically everything except new windows as I wanted to keep the double hung sash windows.

The builders did a great job and it actually was surprisingly quick.  Old cladding came off, including the power needing to be disconnected briefly due to the old meter box on the front of the house - this was reconnected back up later on the same day when the new boards were put on.

I had a whole lot of photos of the process but unfortunately it seems when I switched to a new phone they were lost.  So instead I will have to make do with some before and after shots!


This is the finished product with the new verandah, poles, and all painted up.  

This is a during shot of me painting the weatherboards (complete with my upside down lights).


The before shots - dodgy handrail, bright blue paint (although you can't see how bad the paint job actually was!).

This before shot shows some of the rotten and dodgy verandah decking boards.  Plus when I had half stripped one window frame!


More before shots.

Before - but I still have the same pots to hang from the verandah!

We used the same Mirbau decking as the balcony and the same profile weatherboards as the upstairs. We also put on a new Colorbond roof on the verandah - which took the longest due to some stuff ups with the roofers and some fairly big variations in quotes.  In the end we could only really afford to do the small portion of the roof and gutter - so we unfortunately have a current patchwork part red and part grey roof!

After the painters we used for the upstairs part did a not particularly brilliant job and still cost a lot of money I decided that I would give painting a go.  My theory was if I was terrible then we could pay someone and not too much damage would be done.  In the end I was pretty happy with the results.  The weatherboards themselves went fine, although the trims weren't so easy (partly because we kept the old windows and even with multiple attempts at sanding and filling they remained fairly lumpy and difficult to paint). My tips for painting weatherboards can be found in this post.

End result though is very pleasing. The colour scheme is Dulux Miller Mood for the weatherboards, with Vivid White for trims and the dark grey for the decking is Ironstone - a colour that matches up to the Colorbond colour of the same name.


Finished product - deck in Ironstone, weatherboards in Miller Mood and trims in Vivid White.  Plus the same hanging pots and dodgy paint job on my cane chairs!


Saturday, 2 September 2017

A white picket fence

Turns out this is a historic post now - took me a long time to actually post it up!

After having a bit of a break from our renovations I upped the ante again to try to get things going again.

And first up was the fence.

The picket fence (on top of the green painted sandstone monstrosity) was rotting and paint peeling and cracking.  At first I thought that we could just slap another layer of paint on and cover it up.  I had planned to replace a few palings as needed, but thought I could do a bit of patch up job.


I pulled one of the rough palings off and took it to Fedwood, which is just up the road in Rozelle.  I discovered that to have the palings custom made to match the previous ones (which were bevelled edge) would cost $7 a paling. Which seemed kind of expensive, especially when their run of the mill palings are a lot cheaper.


I got a quote to have the fence replaced and it came to about $4000, which again seemed to be expensive!

After discussions with my neighbour I struck upon a much better plan.  Another neighbour (this is a great street!) is a builder and so he was able to put the fence in for us.  We just paid for materials and labour and hey presto, a fence for significantly less!

But then we had to paint it.  (mind you I was going to have to paint it for the $4000 too!)  So I started with a brush, but it looked kind of streaky.  Then I tried a roller, but it seemed very thin.  And my final attempt was with a spray gun.  I had a few false starts, as the paint was very spattered when it came out , but once I diluted it up more, the spray gun was the winner.  It gives a much more consistent coverage.  My poor husband got the job of holding up a drop sheet so that I didn't paint the cars on the street - not the most fun job but it did seem necessary, as we didn't have any other way of holding it up.

I was pretty pleased with myself when one of my neighbours came past and told me how good it looked - and then said "I'll pay you to do mine!"   Don't think I'll be becoming a professional painter any time soon, but I figured it must look not too bad.

So we have a lovely new white picket fence.  Add some silver numbers for the street number and a fairly stock standard letterbox and it's all good.  Mind you after a eighteen months or so (it takes me a long time to put up these blog posts!) it looks like it needs repainting already if you look at it too closely...


This shows the still partly green sandstone fence (and my appalling lack of weeding - the weeds are coming out through the sandstone!.

Sunday, 4 June 2017

Making a study nook (or more commonly known as a desk in an underused space!)

It seems like everywhere you look (if you look at home improvement programs, or decorating magazines) there is something about a "study nook".  So when I came to the conclusion that doing my work spread out all over the dining room table, and keeping work stuff in four different places in the house and carrying the printer up and downstairs to use it wasn't all that practical, I decided I could make a study nook too.  

We actually had the perfect place for it.  After getting our balcony all fixed up off our upstairs bedroom (see the post about that here I now feel much more likely to actually use the space and have the french doors open.  Well, I will when it is warmer anyway.  And in the walkway to the balcony was a reasonably large area of dead space.  


The layout was measured up - 207cm long and 193cm wide - so not exactly huge, but certainly enough.  After all I've seen bedrooms in some innerwest terraces that are not all that much bigger!


So I decided all I needed to do was paint the space up and get some furniture.  And bingo, work space that doesn't take up all of the room in the house.


Of course I always forget that painting isn't that easy!  Especially in this room with our unusually shaped ceiling.  Being an old workers cottage we have an extremely steep pitched roof, and the internal ceiling in our bedroom has the internal sloping walls.  So I had to contend with high and strange shaped ceilings.  Plus the previous owners had unusual taste in colours - at least this part was only a mint green before, and not the very dark grey or green that is on the other walls.


One bonus was that the skirting boards had already been taken off when the builders took the floor up for the balcony building- so I could paint in the knowledge we will be putting new white skirting boards on later.


One undercoat and two coats of colour later, I have finished the painting.  I used the same colour as we used for all the walls downstairs, mainly because I had a few litres left.  Of course, I did run out of it when I was halfway through the second coat which caused a mad rush off to buy more. 


It was quite good as I had a bit of a deadline and impetus to finish - I figured fitting out my home office with furniture would be tax deductible and I wanted to claim it in the 2015-2016 tax year - so all had to be done and ready for furniture before the last weekend in June!   Mind you I have now taken almost a year to finish my post!


I used a small table that we had downstairs as a general rubbish collection table and have put it in the space for a desk.  One nice new office chair, a filing cabinet that doubles as the printer stand and a good desk lamp later and voila, my study nook is ready.  Ok, so it's not exactly going to win any prizes for styling and I'm sure that it would ripped apart as boring on any home improvement show, but I'm really happy with the result, and with the fact that now all my work stuff is stored in one place and I can actually find things!


And on a gloriously sunny winter's day like today (these photos are hot off my phone from today!) it's not too bad a spot to sit and do some work - or some blog posts.

Wednesday, 31 May 2017

Restoring a door

When we moved into our crooked little cottage there was a very small room off the kitchen which was used as a shower room.  This seemed weird to us given the bathroom/laundry was right next door, so we put a shower over the bath and decided to use the shower room as a cupboard.

When the shelves I ordered to fill the new cupboard I realised they would not fit through the doorway with the door in place.  So the door was removed, and has sat on our deck for months and months.

The problem with the door is that it had glass panelling, and one had been broken.  The previous owners fixed this by putting a piece of cardboard over it and once all the panes were painted you couldn't really tell.  But when the cardboard fell out, it was pretty obvious.


The door was heavy and the old fashioned glass was dangerous - no safety glass here.  So I decided to take on a restoration project.   I didn't realise it would take so much effort for such a small door!  Mind you, with the crooked old house I had to restore the door, as it was probably unlikely that I would find a new door to fit.

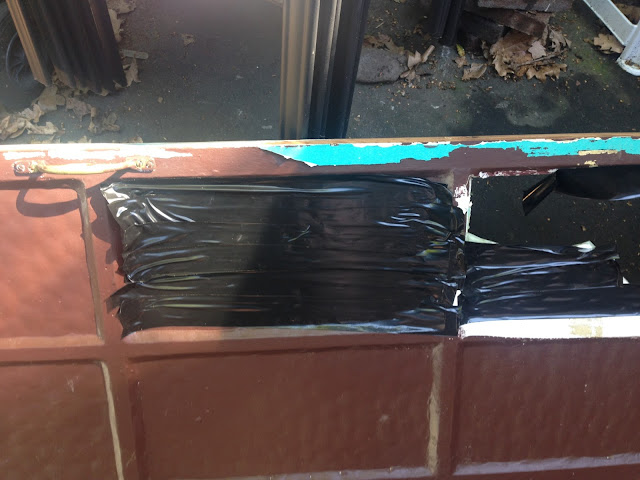
First up - get those glass panes out.  I just stuck gaffer tape over all the glass and then hammered it out.  Still shattered a bit but generally that kept it together enough to be able to get rid of all the glass.


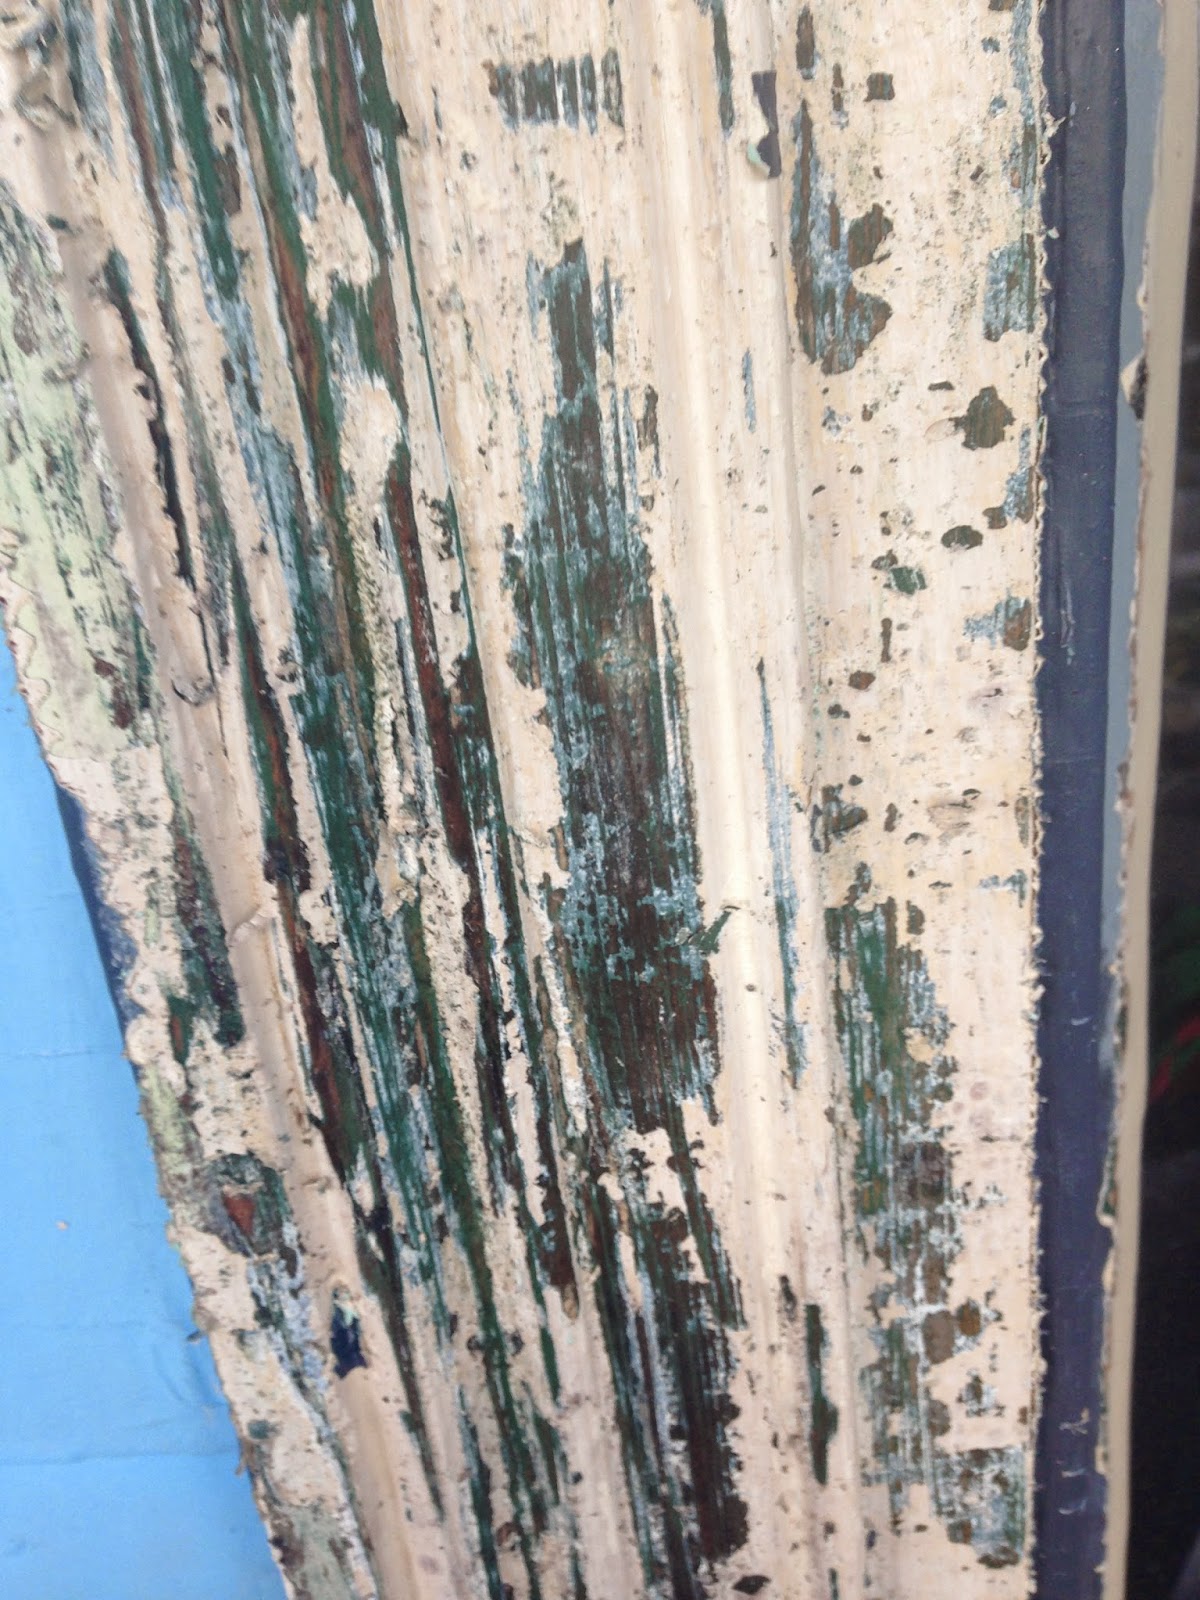
Then the job of stripping that brown paint, followed by sanding.  And sanding.  And sanding.  Old doors are not easy to get smooth!

Once the door frame was reasonably smooth I undercoated it and then painted again with white enamel trim paint.

I don't have a lot of photos of the painting stage as I was a bit impatient and just wanted it finished!

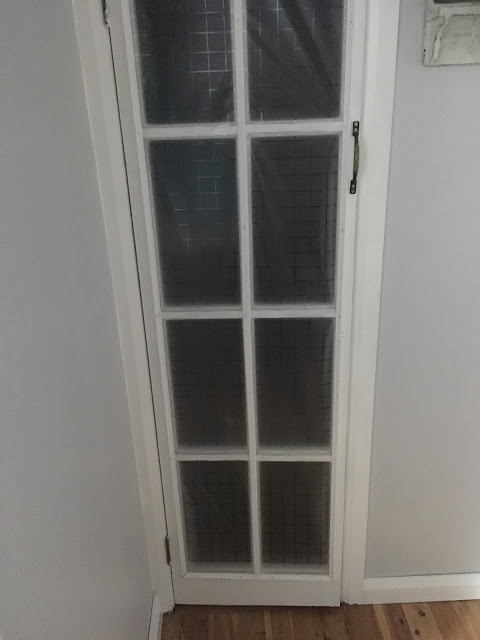
Finally we had worried about what to put back in the door in place of the heavy glass.  I had considered using plyboard and painting it with blackboard paint, to make a kind of built in shopping list/note board, but in the end we found some frosted plastic at Clark's Rubber that looks a bit like glass panels. Just now when I looked up this product I have discovered that it is a static privacy film - you can find it on the Clark Rubber website.


It was fairly narrow - in fact it only just stretched across the opening.  So my dad and I (well, more my dad than I!) had to carefully tack the plastic across.  Then we had bought some thin dowel pieces which I had also painted white so we tacked those on top to hold the plastic.


The hinges and handles went back on and - hey presto - the new/old door has been replaced in the cupboard - which is now a walk in pantry.  


To be honest it was a long process for not that much return, but I can feel like I accomplished something - and also the door itself was an unusual size so at least I knew it would fit back in the door frame!


Monday, 13 June 2016

Beginner's guide to painting weatherboards

I haven't blogged for a while - too busy actually doing things to the Crooked Cottage!  As I posted about last time, we had our new balcony installed - and it looked fantastic.  I paid someone to paint it, as I didn't fancy (or even know how) to climb up and paint the sides and the fencing around the balcony itself.  

And then it looked so nice I had to do downstairs as well!

So I will post about the actual construction of the new downstairs facade at a future point.  Suffice to say it's done, it looks awesome and now we come to painting.

Being a tightarse frugal person I decided that I could paint the weatherboards myself.  Apart from a ladder there is no particular equipment needed, and I knew it would save us a significant amount of money.  Also as all the boards are brand new there is minimal prep work required.

Through trial and error (and also copying some of the professional painters tricks) I have some tips for anyone else who is going to give this DIY painting a go.

1. Prepwork sucks but it is important
Although I didn't have to sand the new board or strip any old paint, I did have to patch all the nail holes and then clean all the boards as they were dusty and dirty (I still don't have a verandah roof). The better prep you can do the better the finished product.  

Trying to keep the light protected by wrapping it in a plastic bag

2.  Put your painting trays inside large garbage bags
This one I stole from the professional guys.  If your paint trays are like mine and full of dirt from the shed, or remnants of old paint colours then it is much easier and less cleaning.  But the main saviour is the wash up and the environment - when you are done you can just pull the garbage bag off and put it in the bin, no washing up and risk of paint going into drains.  From experience - if you keep the same garbarge bag you probably need to peel the dried paint off first - I had a bad day with little scraps of dried up paint going on to the weather boards so after that I went to just one use per bag. 


3.  Keep a bucket of water to put your brushes into
If your brushes get dry they seem to not work so well.  They get a bit clogged up.  So if you have a few brushes, rotate them and throw them in the bucket in the mean time.  Also once you are done put all the brushes and roller covers into the bucket - nothing worse than ruining all your brushes (yes, I've done it many times) by not washing them out properly and finding them stiff as a board the next day.  The bucket manages this issue and the water can be discarded somewhere safely (not down the drain outside as that goes straight into our harbour!)

4.  Brush the paint on first then roll it
Well this one worked for me.  Brush into all the gaps, edges, and then across the whole weatherboard.  Then you can get the roller and make the finish more even and nicer by rolling up and down but no cracks are missed.  

So it's a slow job but I'm hoping the end result will be worth it!

Saturday, 9 April 2016

Our new balcony - also known as the perils of starting one "small job"

So we have now owned the Crooked Cottage for two years.  Actually I think today is the anniversary day of when we settled.  And after the initial push to renovate before we moved in, followed by a period of extreme dislike of building work, I've swung back to wanting to get stuff done around the house.

The quest to get the balcony fixed started last year, when I got a builder to quote on fixing the railing.  We hadn't been letting people go out onto the balcony, even though we do have a little view of the city, and can see the fireworks at New Years - but the balcony rail was quite low and not sturdy so we wanted to fix it.

Seemed simple enough.  But nothing is ever simple here!


This is how the house looked when we bought it.  Those palms are long gone.  But as you can see, the balcony railings quite clearly do not meet any safety requirements.

Builder turned up. (bonus).  Looked at railing.  Bounced up and down on the decking.  Looked underneath.  Pronounced the boards to need replacing.

Ok - so we will replace the boards too.  Good idea.  New balcony.

Then he looked under the base.  Our balcony doesn't have any support posts - which means the joists are cantilevered under the floor of our bedroom.  The joists were also pronounced rotten.  So suddenly the "small job" of fixing the railing height had become taking up the floor in our bedroom, putting in new joists, new decking, new railings....  And the numbers he was "quoting" me kept climbing - first $5000, then $9000 then maybe $12000 - but all rather vague.  He never did send me a detailed quote.  And I didn't chase it up.

Then this year I spoke to our neighbour who had replaced our fence.  Asked his opinion on the matter of the dodgy balcony.  He had a look, agreed with the first builder and called a builder he works with.  So this time I got a proper quote.  The floor would be taken up, new joists put in, new decking (the right way up this time - it was pointed out to me that the ridges on the decking should go on the under side but people think they go on the top side for "grip"), new railings with regulation height and also no child sized gaps for anyone to stick their head (or entire body in the case of the old balcony) through.  Plus as the weatherboards had deteriorated these would be replaced.  


Not sure if it is very clear in this photo but previously there was quite a large hole under the balcony.  Also, the joists had been "fixed" by a second piece of pine attached to the first joists.

So we went ahead.  And as usual, Sydney's unseasonably dry weather stopped the day work was meant to start - we lost probably 4 days in total to rain.  

I didn't actually take any internal pictures, but for a few days it was very painful removing all the stuff out of our cupboards to allow access to the roof space and under floor.  But the results are complete (apart from painting - still waiting on quotes for that!) and I'm so very pleased!


The joists were cut off, and floor inside pulled up.  Weatherboards were also removed.


New joists were put in place and remain cantilevered so the balcony remains the same form and size - but is no longer rotten!


I tried to take some photos of the joists that were removed to show how rotten they actually were - very glad now that we didn't let anyone out there before! 


Base all framed up nicely, with the decking down, and new posts going up.


The finished product!  Looks so much better (and will be even better when we get it painted).  A nice sturdy, safe balcony which meets requirements.  I might even be able to sit out there sometimes and watch the world go by!

Of course, the problem is that now the upstairs looks so good I have to do something about the downstairs.  So next project will be replacing all the weatherboards and architraves at the front of the house.  And of course painting it a new (non bright blue) colour.  Won't be long and the Crooked Cottage will be one of the best looking houses on the street!

Saturday, 9 January 2016

Almost my blog birthday!

It's almost the first birthday of The Crooked Cottage.  Which is pretty exciting.  It all started last year with my new years resolution of starting a blog - which really was going to be about our falling down house and the perils and joys of DIY.  Although we haven't done all that much DIY (I get inspired at times, but other times very uninspired!) and it has kind of morphed more into being about my garden.


I've had a great year, although I have found it more difficult lately to post as life just seems to be crazy busy all the time.  I've really enjoyed reading lots of different blogs, about gardening, DIY, and simple living.  I have a few of them on my blog list, and would definitely recommend all of them!  I learn a lot from these blogs, and I hope that occasionally I can help people out with some information too.

I've really enjoyed being a part of the Garden Share Collective - and anyone who is interested in growing their own food should join in too!  Anything from some herbs in containers on a balcony to serious gardens on large areas (I'm still not sure how big an acre is.  But I know it's way bigger than my 150 square metres!)

So this years new years resolutions will be - 

1) Keep up the blog - and try to be a bit more consistent.  I'm pretty chuffed that according to my blog stats I've had 7500 visits this year, so hopefully I can increase that average!
2) Waste less food - this is a bad habit of mine, and it is quite shameful how much produce goes into my compost bin.  I guess it's better in the compost than the rubbish bin, but it is wasteful, and I'm going to try hard not to do it so much this year.
3) After just reading some posts on Nana Chels's blog Going Grey and Slightly Green I'm inspired to try to learn (or relearn, although not sure if being taught by your grandma when you are 8 and then trying again 30 years later counts as "relearning") how to crochet.  Time will tell.....

And of course there are still plenty of jobs to do around the house - including fixing my leak which seems to have returned, get the whole place painted externally, fix our balcony, and do something about my messy back courtyard.  Oh and of course properly fix the letterbox....


So thanks for reading, commenting, and making suggestions, it is much appreciated!

Sunday, 22 March 2015

Weekend DIY projects

Well I did say the next post would be the continuation of my kitchen post, and I am working on that, but first I wanted to show off some of my handiwork from this weekend.  

I felt very productive yesterday, not only knocking over some of the work for my day job, I managed the pre-study for my St John's Ambulance first aid course AND I got started on a few of my new projects.

First up - trying to cut out some tile pieces in the bathroom.  This one wasn't too successful.  For reasons that will be explained in later posts - we have a large gap in the tiles in our bathroom. 


Badly lit photo of the missing tiles in the bathroom
  It seemed like an easy job to fix - just cut out the grout (with my very recently purchased new multi tool) and then replace with two new tiles.


All I needed to do is cut that small piece of tile out

Grout is cut but I don't know how to get the adhesive off
So I managed the cutting of the grout - but I can't get the pieces out!  So I rang my brother (my dad is on a cruise overseas at the moment, so the little brother had to be the go to DIY advice person) who said he thought I needed a cold chisel.  And yes, for a fleeting moment I wondered what Jimmy Barnes had to do with it....  (probably something only Australian readers will get there.  See the link at the end if you want to catch up on classic 80's Aussie rock).

Anyway, I have to admit I've given up on that project until my dad does get back to help me out.

But I had more success with my gardening.  First I planted out two new hanging pots, and have hung them on the verandah, along with my lanterns I bought from Ikea a few weeks back.

www.crookedcottage.com.au


Then I got my painter on - and channelled Tara Denis - I saw her do this on Better Home Gardens a while back - by spray painting an old plastic pot to re-use for my new lemon tree. 

The pot previously looked like this - 


This was taken before we settled on the house - the pot I painted is the one of the far right, the dark green colour one.

And after my painting - 


However one tip - I used my shade cloth as the protections between pot and pavers.  Not such as great idea - it's not exactly protective - so I now have some blue marks on the pavers that I am hoping will wash or fade away!

And after my painting project, I also decided to start on another project - the stripping of the paint on the sash windows.  I could tell the paint that was there was not very well done, as it was already lifting and cracking in places.  So I bought myself another new toy - a heat gun - and got to work.  Mind you - safety first - I got a respirator and heat protective gloves.  And then I got stuck in.

My new toys - heat gun, plus my safety equipment - safety is very important!
The current paint job is a blue colour, but is already lifting and cracking in some places

A heat gun is a magical thing!  It looks like a hair dryer but after a few passes over the paint it bubbles and softens - and can be easily scraped off.   No wonder the blue paint was already cracking - it seems like it went straight over a cream layer, which was over a light blue layer, and then a green layer - all just on top of the previous one.


So it would appear there are about four layers of paint to be stripped right back

So I haven't got very far through it yet, although this was only about 25 minutes work before it got dark.  So hopefully by Easter I can strip both windows back totally, and then repaint.  I would definitely recommend using a heat gun for stripping of paint!

And now because I promised to educate you about Cold Chisel  - here's a clip of one of my favourite Chisel songs - Flame Trees